Back to Tufting!
It’s been a while, but I’m finally getting back to making rugs!
Here, I’ll be adding in updates as I finish my first rug in over a year. Videos are all here, but you can check them out on my Instagram with a better soundtrack!
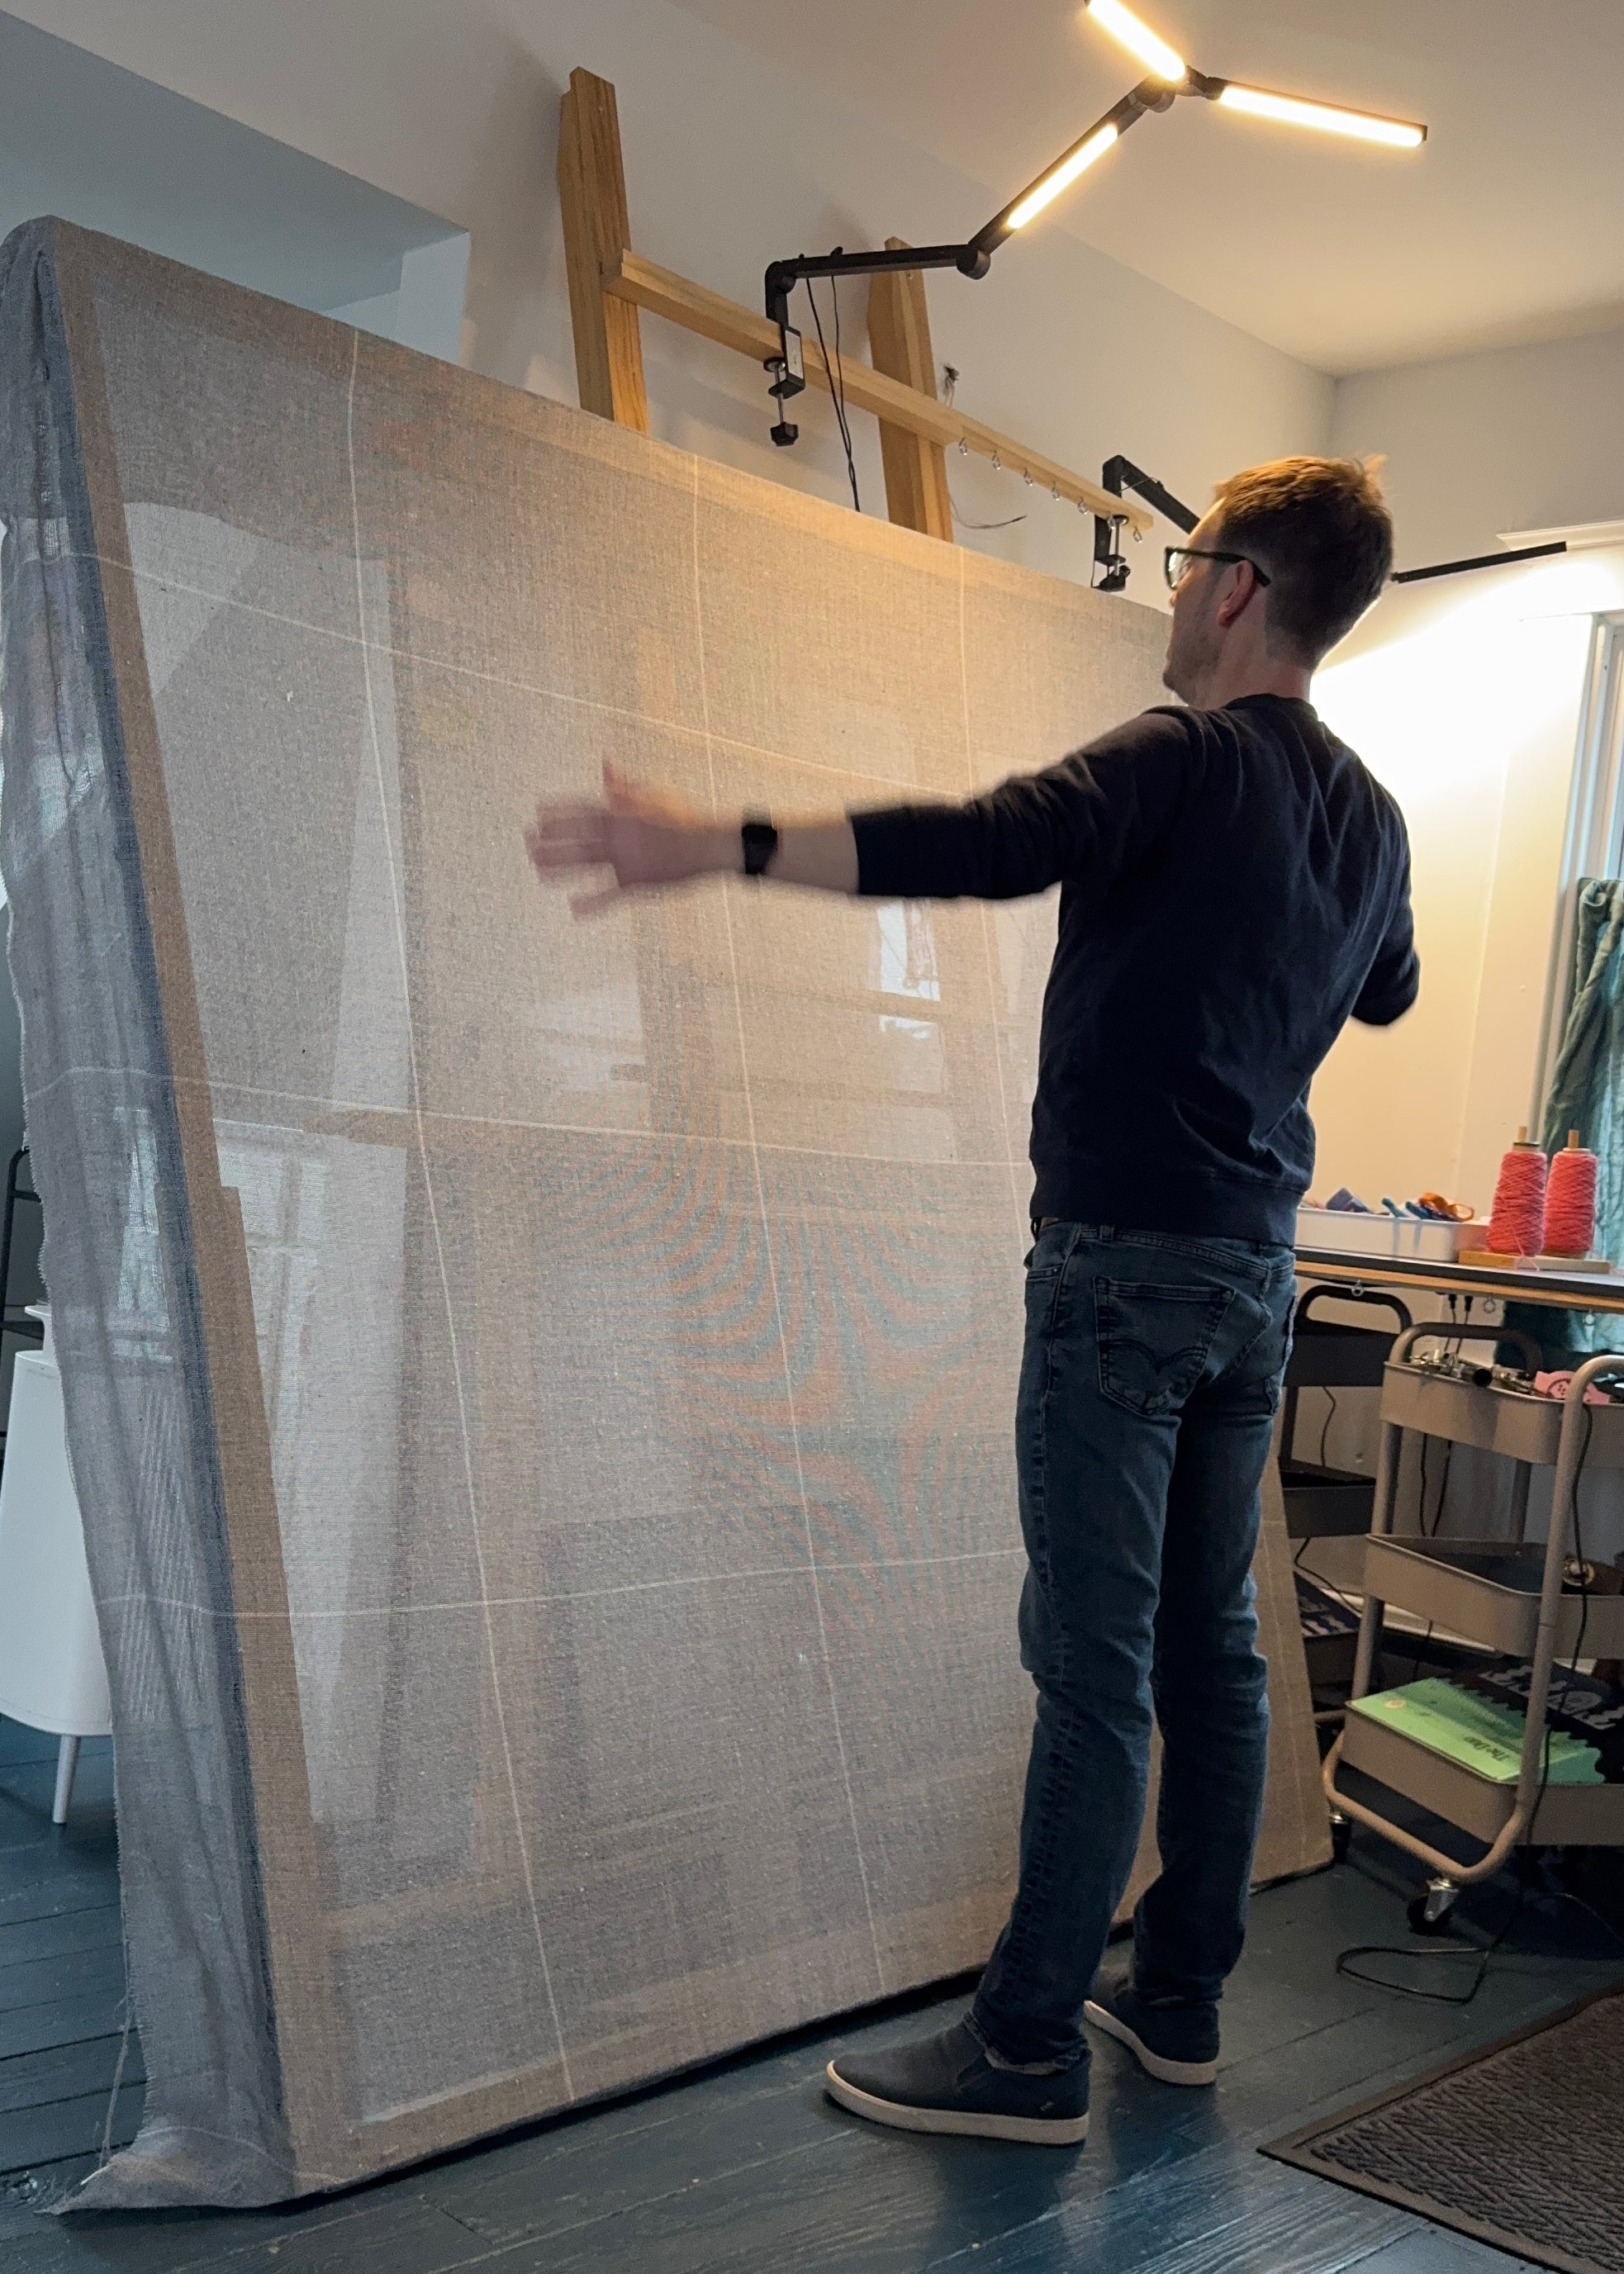
First up, I built a brand new 6 foot square frame with wood left over from some shelves I built a few years ago.

Then, with a tape measure, some handy string, and a Sharpie, I plotted out a simple grid pattern. With a 6 foot frame, the usable space will be about 5 feet, square.
Now, getting started with yarn! The first 10 inch square goes in.
For this rug, I’m using cotton yarn, mostly because I have so much of it around the studio. I found cotton worked better for me when I tufted by hand, but not as good with the tufting gun. So, hoping it'll work out!
And adding in some blue.
The next square is orange. Here's what it looks like from the other side, which will be the side of the rug you'll actually see when it's done.
A quick look at the Rug Food, ha! A rug this big will gobble up lots of yarn.
And a slo-mo look at the yarn building up on the front.
Here are a few more squares in purple.
You can see here I'm dropping the yarn quite a bit. That means I don't have quite enough tension because the cotton is a bit thin and doesn't have enough tooth, so sometimes the weight of the feeder line pulls the yarn right out of the gun. Next time I use this cotton, I'll do two threads to bulk it up a bit.
Adding in an example going off-course. One of the benefits of a loop-pile is that the yarn stays intact as one string. So, it sort of has an EDIT → UNDO function built right in.
That's as far as I’ve gotten so far! Stop back soon, more to come
Want to see more tufting now? Check out Pia’s Pillow